簡單來說
在經歷了與 GitHub Pages 和 Keystatic 整合的無數次 404 與 Adapter 錯誤後,我決定擁抱 Vercel 生態系。這篇文章記錄了如何透過遷移至 Vercel 解決後台登入問題、適配 Astro v5 的最新設定,以及如何利用 Satori 實作「動態文章封面圖」生成器。
前言:為什麼放棄 GitHub Pages?
在前一篇文章中,我試圖在 GitHub Pages(純靜態託管)上硬接 Keystatic 的 Cloud 模式。結果是慘烈的:無止盡的 [NoAdapterInstalled] 錯誤、手動 Hack React 元件導致的白畫面,以及為了配合環境變數而寫出的一堆 if (dev) 判斷式。
我意識到,為了堅持使用 GitHub Pages,我花在「維運」上的時間已經超過了「開發」本身。是時候換個思路了。
1. 擁抱 Vercel:Astro 的最佳拍檔
遷移到 Vercel 的決定是瞬間的,而過程意外地滑順。相比於 GitHub Pages 的純靜態環境,Vercel 原生支援 Serverless Function,這意味著 Keystatic 需要的 API 路由可以被完美處理,不需要再手動掛載靜態 React 頁面。
Astro v5 的設定眉角
在遷移過程中,我遇到了一個關於 Astro v5 的小插曲。Astro 在新版本中棄用了 output: 'hybrid' 模式,並整合了 Vercel Adapter 的引入路徑。
這是修正後,目前運作完美的 astro.config.mjs:
import { defineConfig } from 'astro/config';
import vercel from '@astrojs/vercel'; // 舊版是 /serverless,現在統一了
import keystatic from '@keystatic/astro';

export default defineConfig({
  // Astro v5 之後,即使有動態路由,這裡也統一設為 'static'
  // Adapter 會自動處理 Server Islands
  output: 'static',

  adapter: vercel(),

  integrations: [
    // ...其他整合
    keystatic() // 終於可以直接啟用,不用再寫條件判斷了!
  ],
});
一旦部署成功,Vercel 提供的 .vercel.app 永久網址直接解決了之前預覽連結變動的問題,Keystatic Cloud 的後台也終於能穩定連線。
2. 實作黑科技:自動化 OG 圖片生成 (Satori)
解決了基礎建設,終於可以來點好玩的。我一直很羨慕像 Vercel 或 GitHub Blog 那樣,貼連結到社群媒體時,會自動產生一張帶有標題、日期的精美預覽圖(Open Graph Image)。
要在 Astro 裡實現這個,不需要 Photoshop,只需要程式碼。
技術堆疊
- Satori: Vercel 開發的引擎,把 HTML/CSS 轉成 SVG。
- Resvg: 把 SVG 轉成 PNG。
- Astro API Endpoint: 用來輸出圖片。
核心實作
我建立了一個 src/pages/og/[slug].png.ts 端點。在字體策略上,我最初考慮動態 Fetch Google Fonts,但為了確保生成速度與穩定性,最終選擇將 NotoSansTC-SemiBold.ttf 字體檔放入專案 fonts/ 目錄中直接讀取。
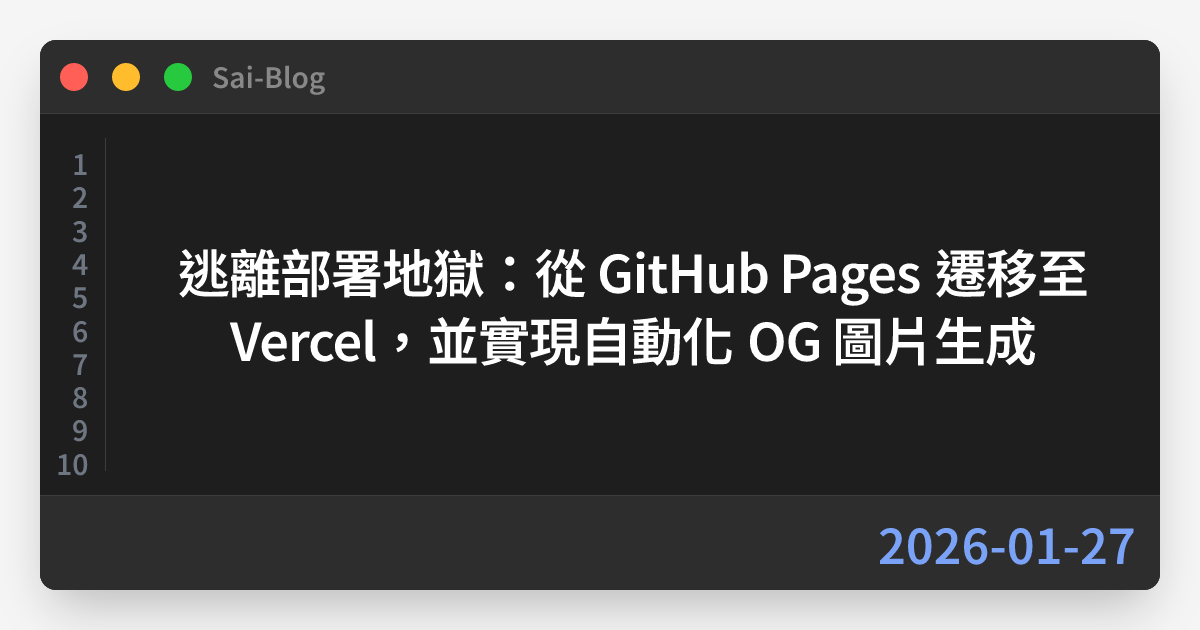
在設計風格上,我用 CSS Flexbox 排版刻出了一個「Mac Code 視窗」風格,讓部落格文章在社群分享時看起來更具技術感。
// src/pages/og/[slug].png.ts (核心邏輯簡化)
import fs from 'fs/promises';
import path from 'path';

export const GET: APIRoute = async ({ props }) => {
  const { post } = props;

  // 1. 讀取本地字體
  const fontPath = path.resolve('./fonts/NotoSansTC-SemiBold.ttf');
  const fontData = await fs.readFile(fontPath);

  // 2. 使用 Satori 定義畫面結構 (Mac 視窗風格)
  const svg = await satori(
    {
      type: 'div',
      props: {
        style: { background: '#f5f5f5', ... }, // 畫布背景
        children: [
            // 模擬 Mac 視窗容器
            {
                type: 'div',
                props: {
                    style: { background: '#1e1e1e', borderRadius: '16px', ... },
                    children: [
                        // 紅黃綠燈號與標題欄
                        // 行號與文章標題
                        {
                            type: 'h1',
                            props: {
                                style: { color: 'white', ... },
                                children: post.data.title
                            }
                        }
                    ]
                }
            }
        ]
      },
    },
    {
      width: 1200,
      height: 630,
      fonts: [{ name: 'Noto Sans TC', data: fontData, weight: 700 }],
    }
  );

  // 3. 轉換為 PNG 並設定快取
  const png = new Resvg(svg).render().asPng();

  return new Response(png, {
    headers: {
        'Content-Type': 'image/png',
        'Cache-Control': 'public, max-age=31536000, immutable'
    }
  });
};
現在,只要我發布新文章,系統就會自動為該文章生成一張獨一無二的封面圖。
結語
從部署地獄爬出來後,現在的架構是:Astro v5 + Vercel + Keystatic Cloud + Satori。
- 寫作體驗:流暢,按 Save 自動部署。
- 維護成本:接近零,不用再管 GitHub Actions 的 YAML 檔。
- 視覺效果:自動化 OG圖片讓分享連結變得更專業。
如果你也在靜態部署的邊緣掙扎,強烈建議試試這個組合。接下來,終於可以專心寫文章了(吧?)。